Cameron
Member
- Joined
- May 10, 2021
- Messages
- 108
- Reaction Score
- 3
- Points
- 23
- #1
Have you ever attempted to take a photograph of something, such as a painting or a building, head on and as square as possible, only to discover later on that you were standing too far to the left or to the right? I have. I mean, I have a lot. Oftentimes it’s tough enough to take a high quality photo, but when we have to add “straightness” to the mix, it’s nearly impossible. Luckily, Adobe offers us many tools to deal with unintended lens distortion. Now, we’ve got another tool in our arsenal – perspective crop. If you’re into manipulating the perspective of your photos, this is going to be a fun post.
In this post, I’m going to talk about how we can go about taking a photo that has a subject that’s skewed one way or another. Items with sharp, straight edges are perfect for this type of correction. I’m going to use the “Perspective Crop Tool” in Adobe Photoshop to alter these photos, so if you have that application installed, please feel free to follow along.
My Original Photos
The first photo I’m going to be working with today is “La Primavera by Botticelli.” This was taken a few years back and as you can see, it’s rather crooked. It’s a nice example photo to play with because I know the frame has straight edges and the painting was level.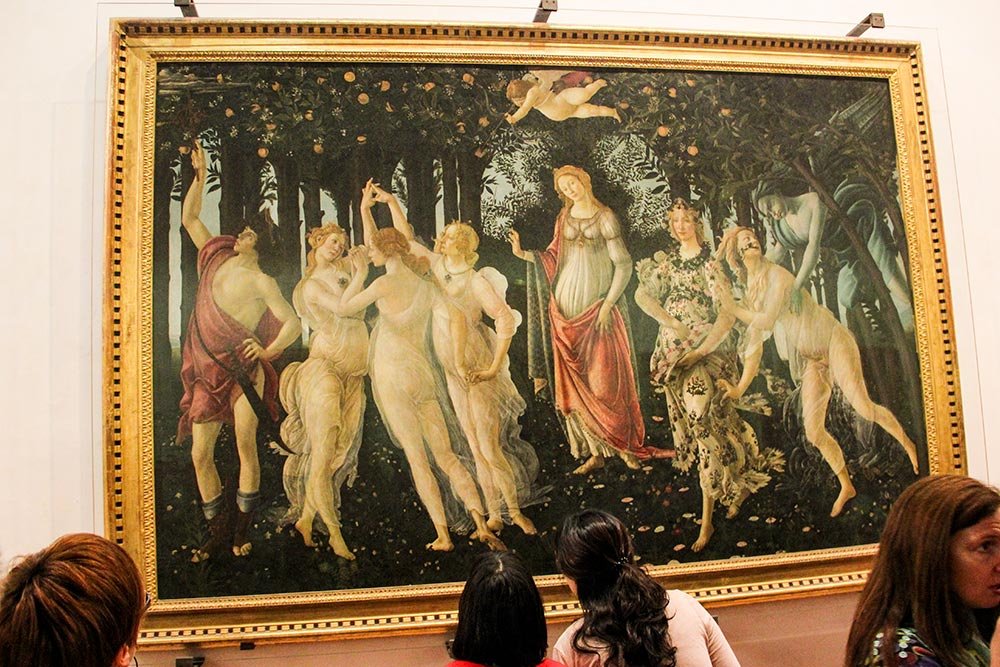
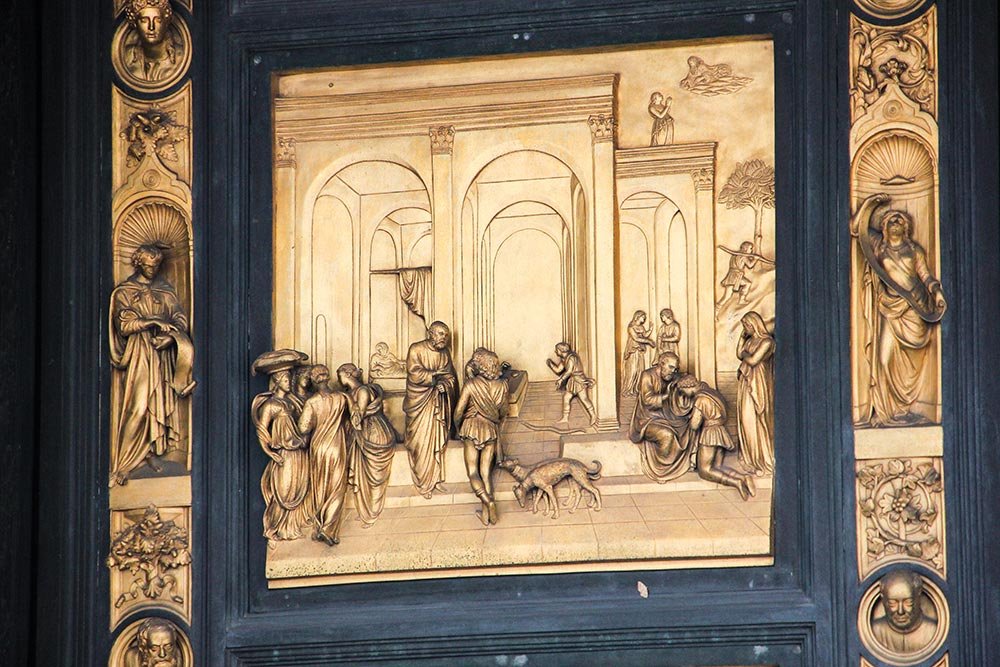
The next photo is part of “The Gates of Paradise by Lorenzo Ghiberti.” I’d say this is another good option for experimentation with the Perspective Crop Tool.
Now, I just want to put out a word of warning. As I go through using the Perspective Crop Tool on these photos, my results aren’t going to be perfect. I’m merely trying to show how the tool works. I’m not going to continue on in an attempt to straighten any lens distortion or to clean up any other areas of the photos.
Setting the Perspective
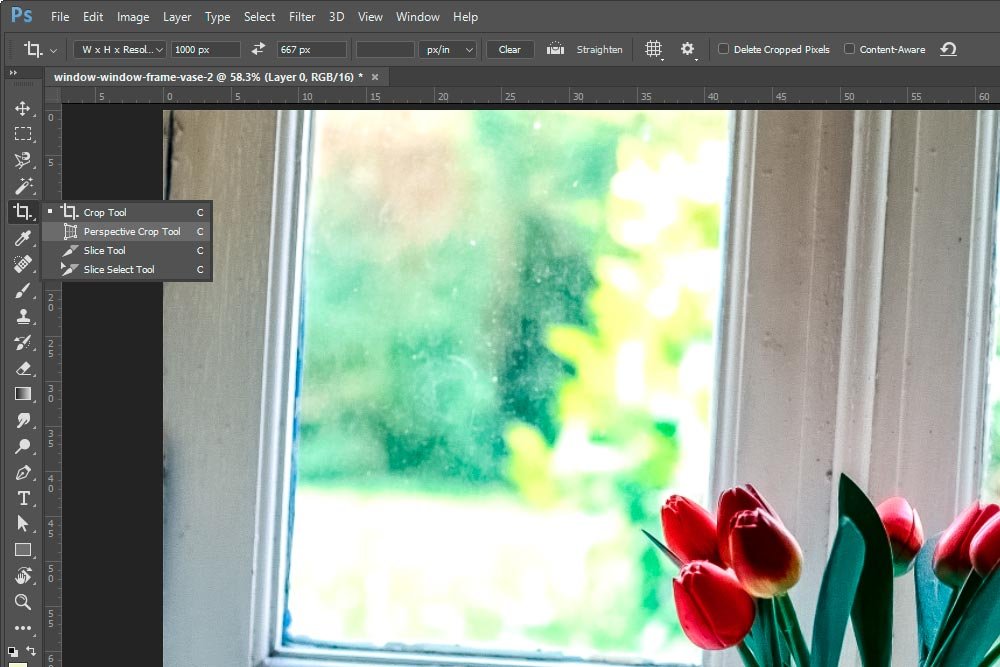
I’m going to work on the painting first. To set the crop perspective using Photoshop, I need to select the Perspective Crop Tool. This tool can be found “behind” the regular crop tool. If I click the regular crop tool and drag it out, all other tools behind it will be revealed.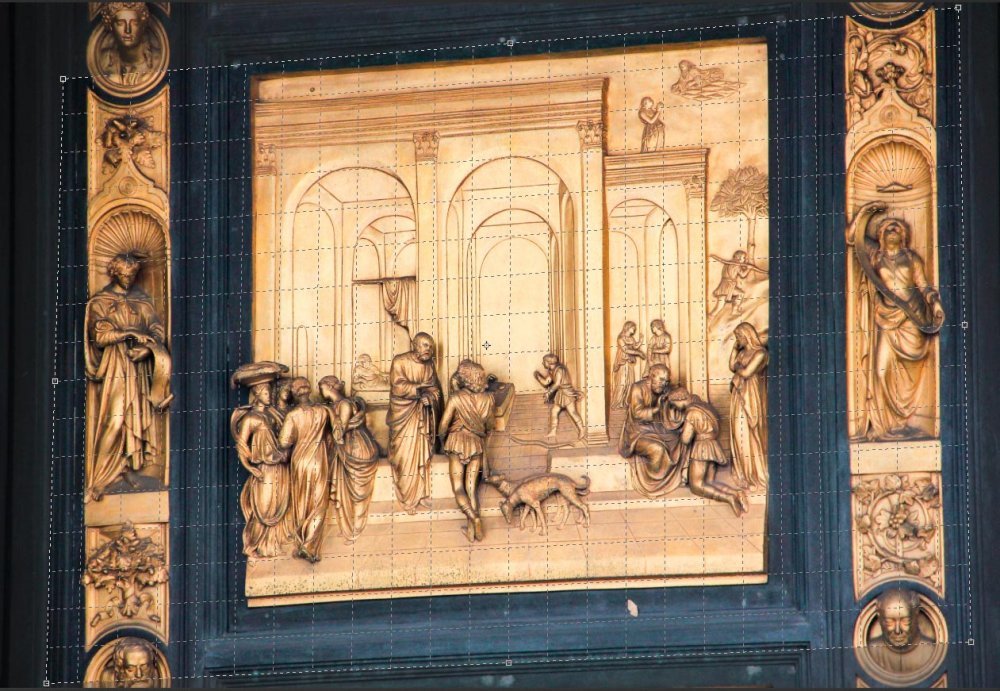
Next, I’m going to use the Perspective Crop Tool to outline the area I’d like to work with. Right now, it’s not critical to set this tool in any particular way. I merely want to get it active on my canvas.
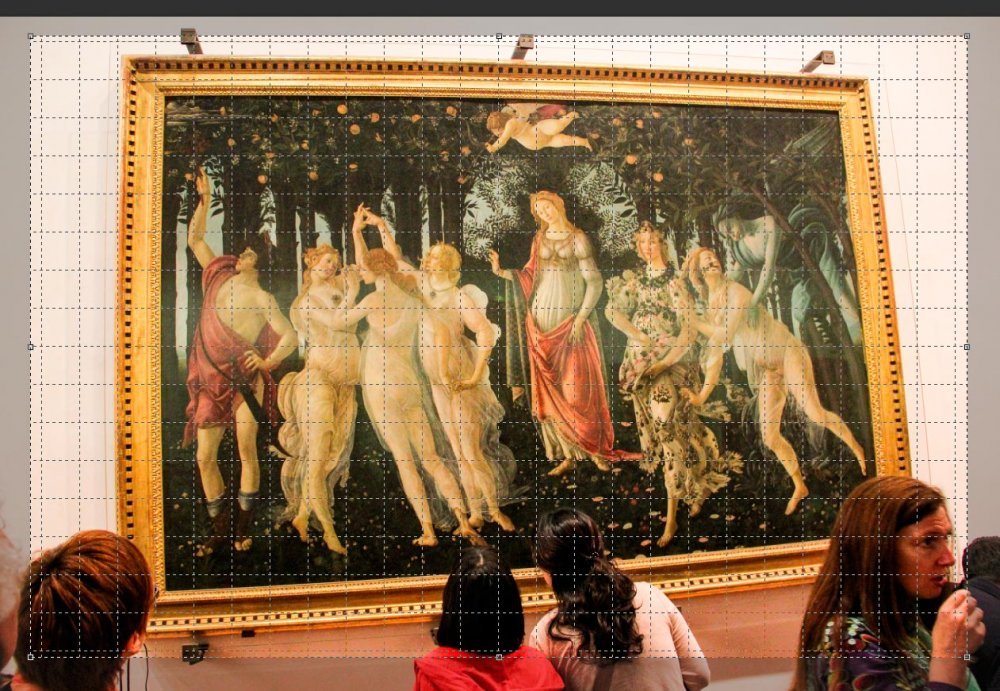
After that, I want to drag each corner of the tool to the corners of where I’d like to set my perspective. The space inside the tool doesn’t need to contain what I’d like to crop. All I’m doing is creating a template of a particular shape.
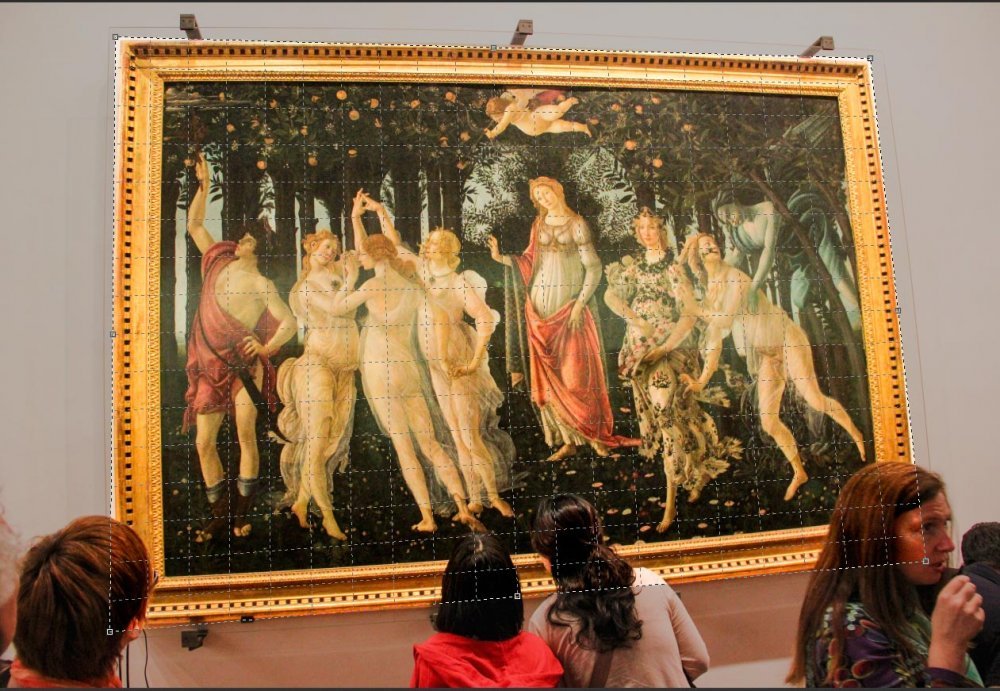
Now that I’ve got my shape correctly represented, I can continue on and drag both sides and the top and bottom of the crop tool out to encapsulate what I’d like to be in my final image.
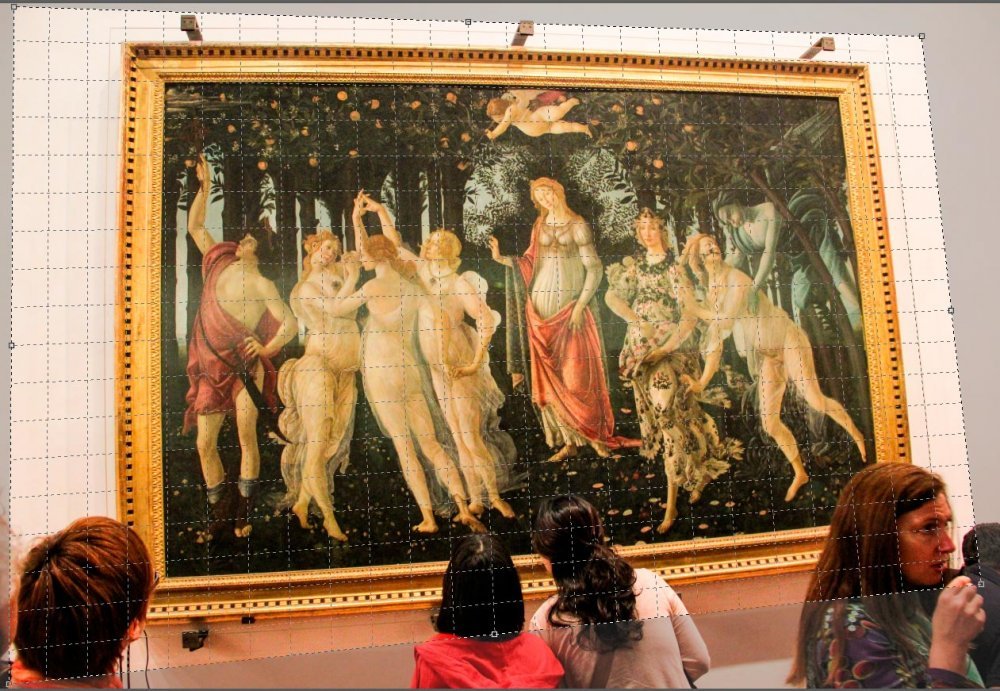
From here, I can double click inside my crop area to apply the tool. This is what I’ve got as a result.
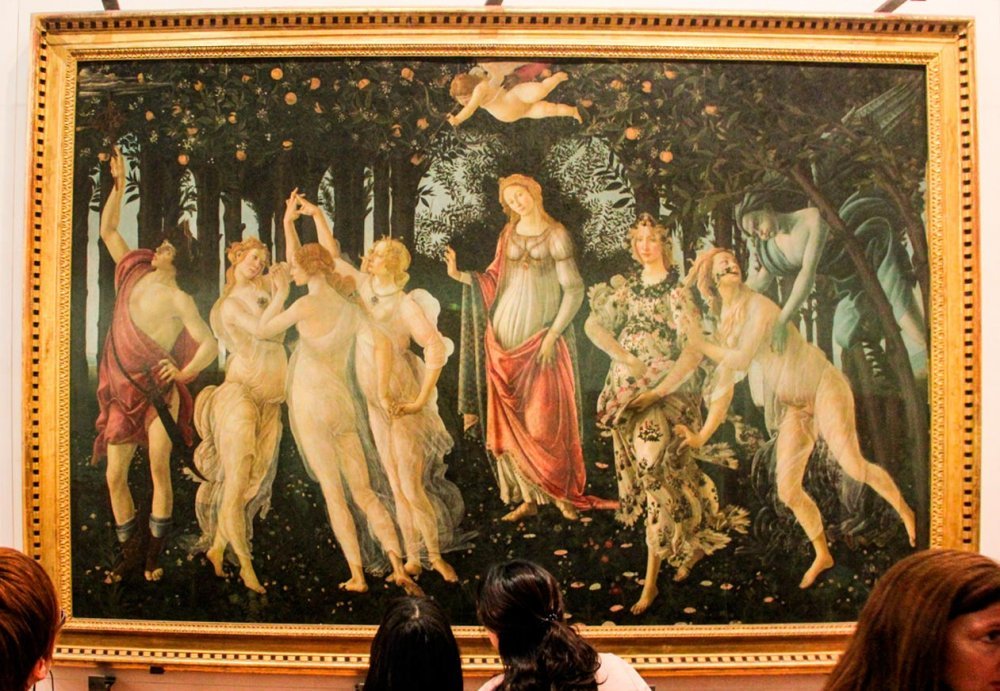
Like I said, it’s still got some lens distortion in the photo. I’m not going to touch that. As you can see though, the perspective is now repaired and I can move on with editing the photo as I wish. Just imagine if I pulled the warping in a bit and if those heads weren’t in the picture. I think it would look rather good.
My Next Photo
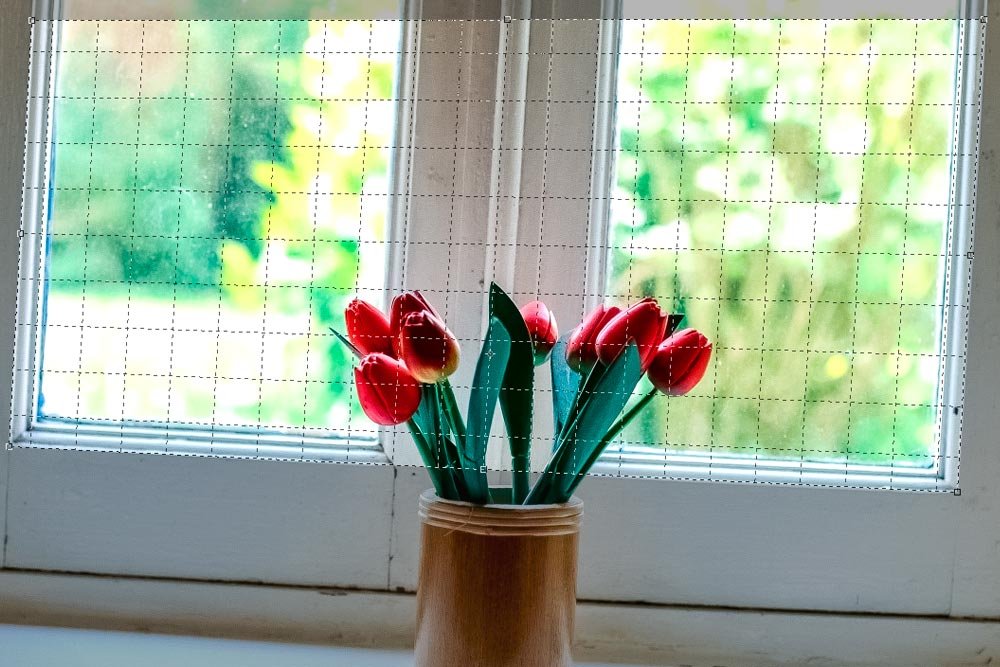
For my next photo, I’m going to go through the same steps as I did above. First, I’m going to get my crop tool inside the image area.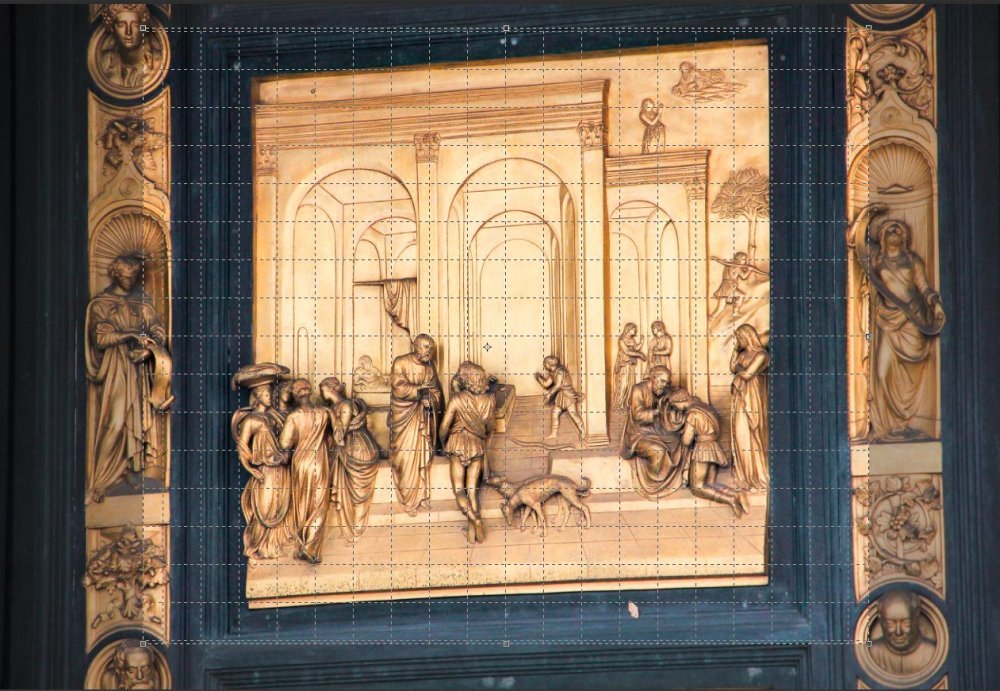
Next, I’m going to click and drag the corners of the tool to create the shape I’d like to apply.
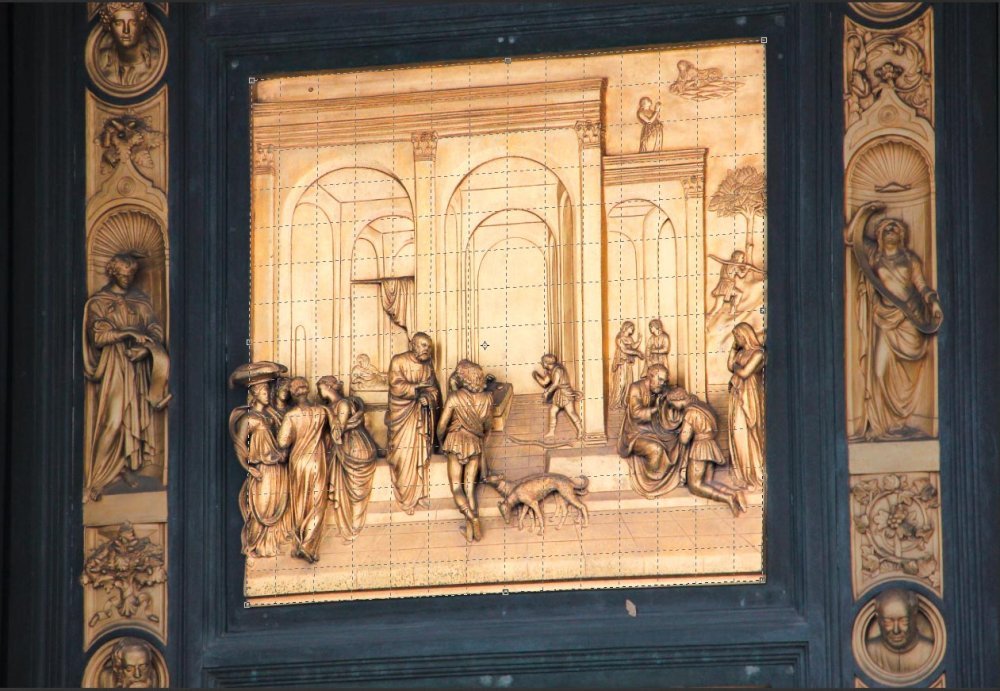
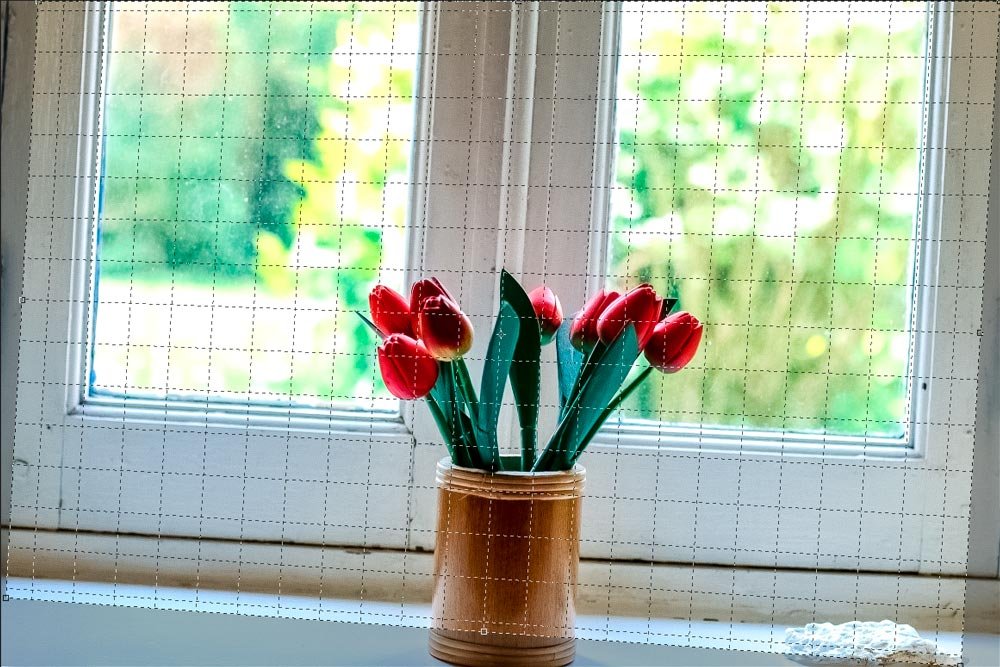
After that, I’m going to pull the sides, top and bottom out towards the edges, so I can have more of the photo included in my final result.

Finally, I’ve got my final image.
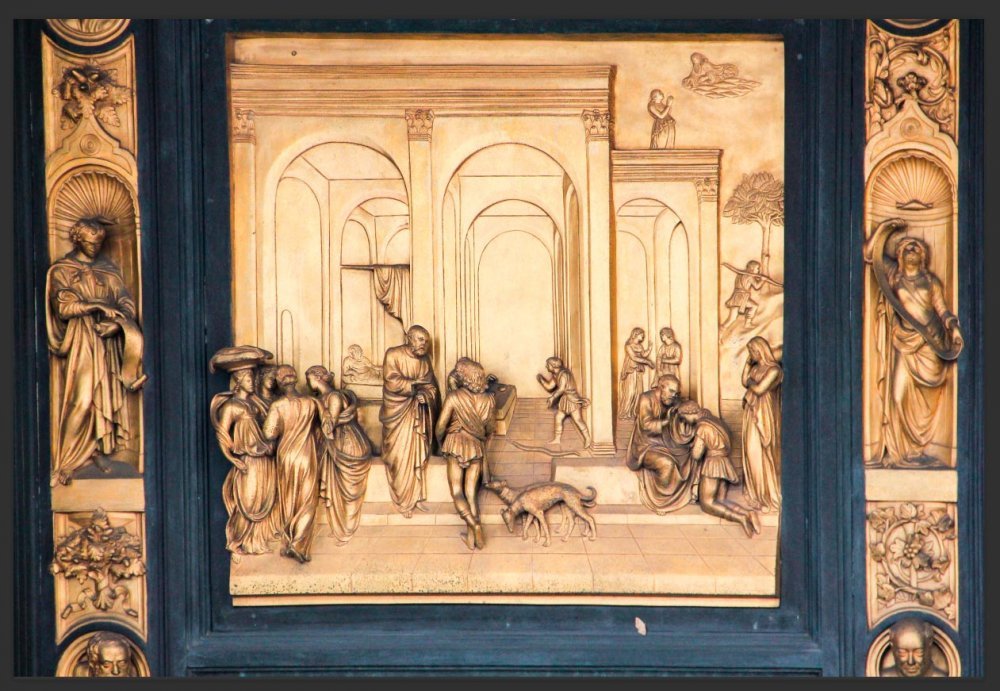
While this is a good beginning, this second photo obviously needs a bit more work. It does, however, look better than it did originally.


