15Katey
Member
- Joined
- May 10, 2021
- Messages
- 130
- Reaction Score
- 0
- Points
- 23
- #1
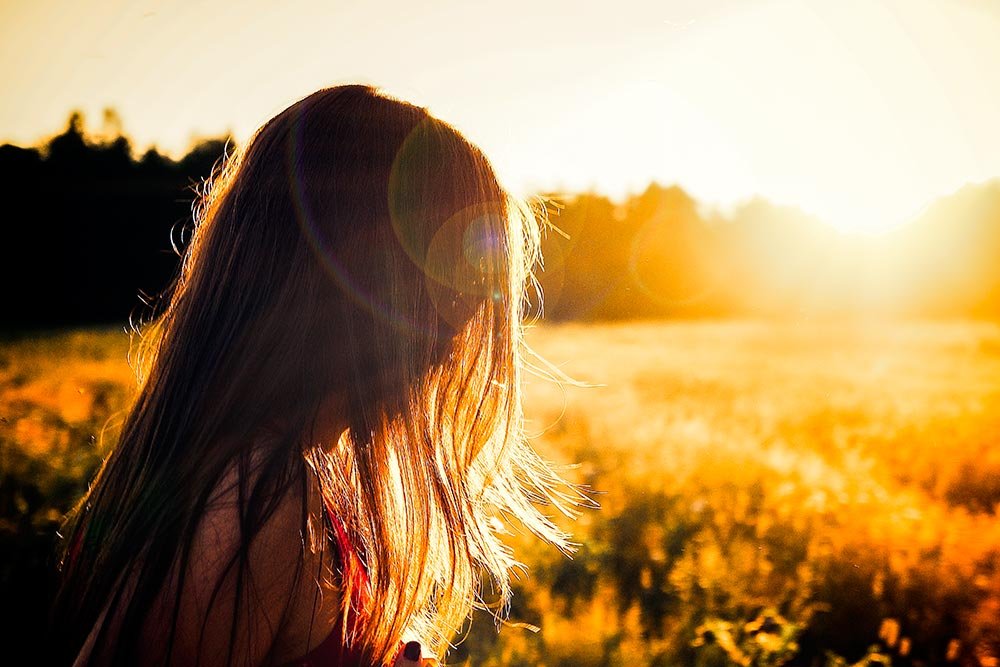
When it comes to photography, I love lens flares. Well, that is, if they’re properly placed. If they are, they add a really cool effect that makes a photo look ultra realistic and sort of nostalgic. They can add mood, if that makes any sense.
In today’s post, I’ll be demonstrating how to go about adding a lens flare filter to a photo. In the sample image, there’s already an abundance of sunshine, which will work perfectly with what I’d like to do with it. As it stands, a young girl is sitting in a field facing the sun. There is very little flare. When I’m finished, the lighting will be different and the photo will have more emotion attached to it. Instead of a regular photo taken in the afternoon, it’ll be transformed to a photo taken on a Sunday afternoon, as the sun is setting and school is just a few hours away. You know the feeling. The weekend is coming to a close.
The Original Image
Below is the original image that I’ll be using for this post. Notice the wonderful lighting combined with a powerful silhouette look.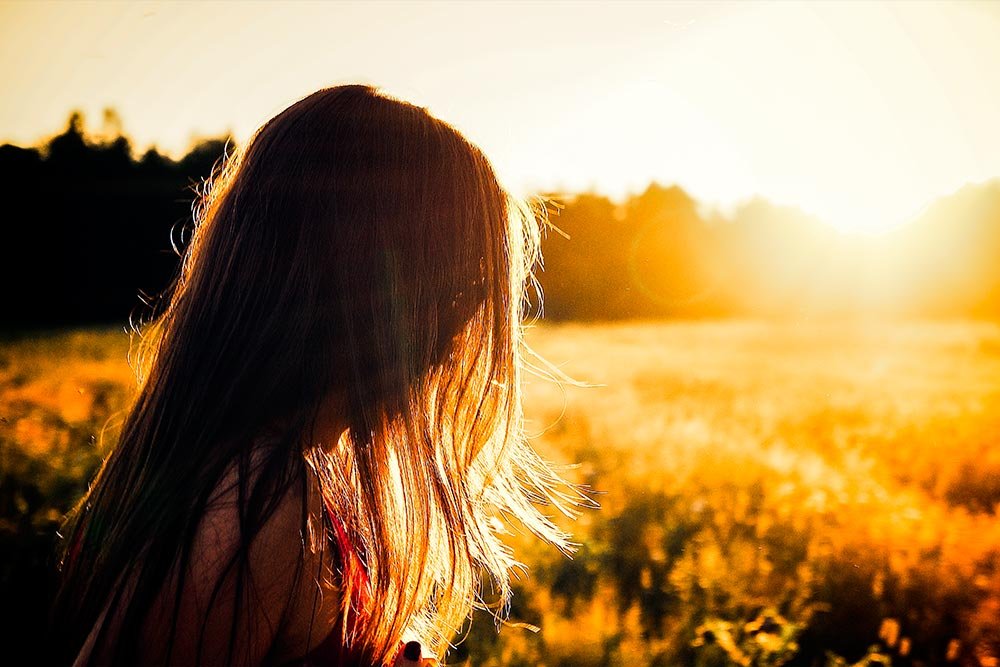
Copy the Layer
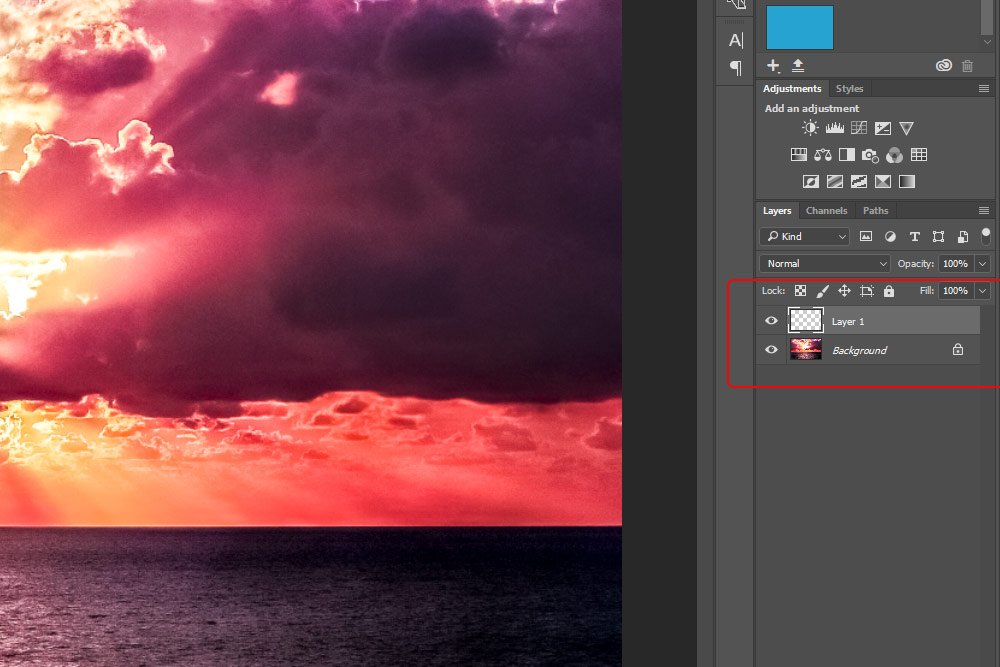
Since the Lens Flare filter is applied directly to the image layer itself, it’s important to copy the layer to avoid losing the original. If you apply the filter and work on the original image and then decide you don’t want the flare anymore, you’re going to be out of luck. If you copy the layer and apply the filter to the copy, all you’ll need to do is delete that one layer. You’ll still have the original.To copy the layer, I’ll simply drag it down to the Create New Layer icon at the bottom of the Layers panel and let go.
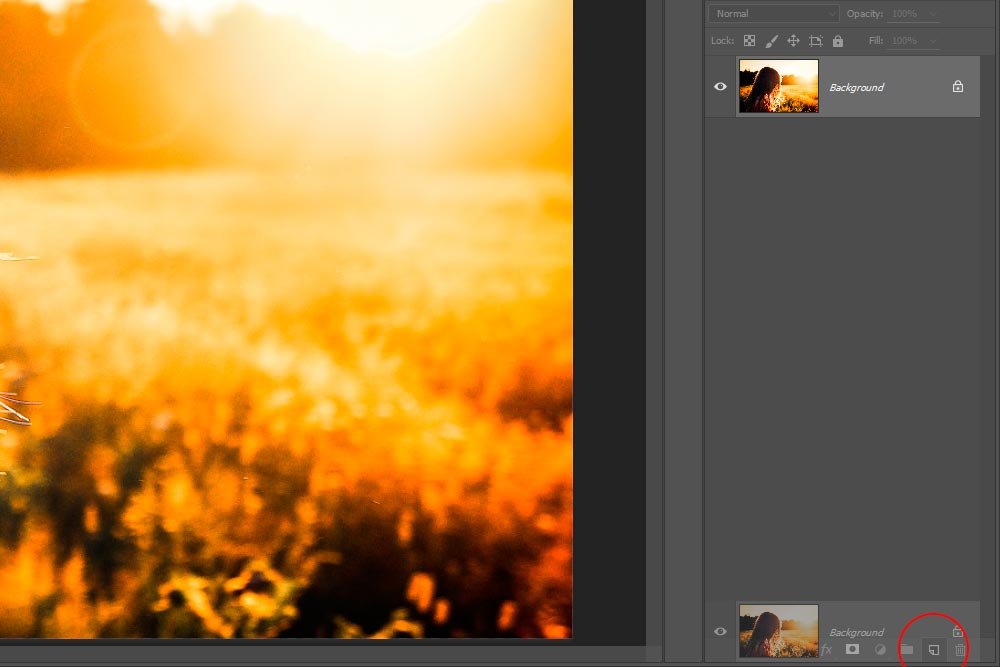
Once I let go, I’ll be left with the original background layer as well as a copy of it that sits above.
Apply the Lens Flare Filter
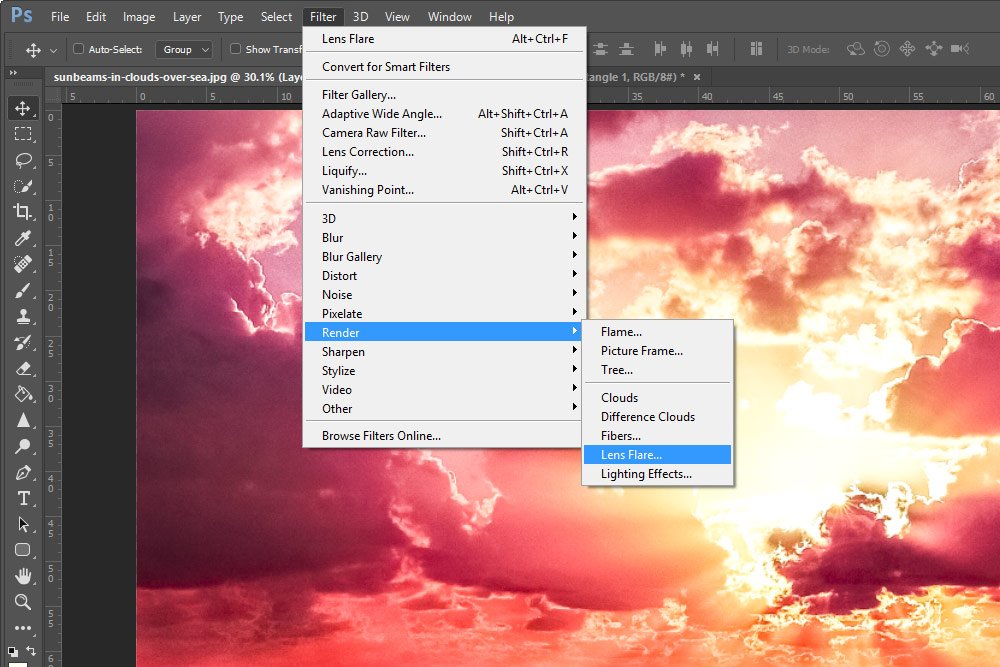
The next thing I’m going to do is to head up to the Filter > Render > Lens Flare menu item and click.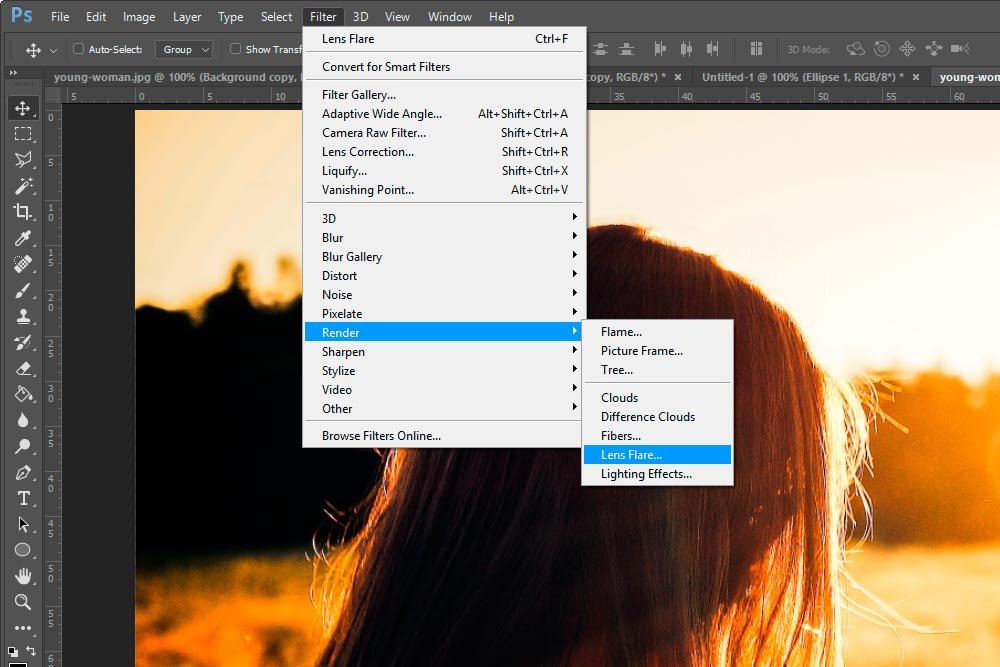
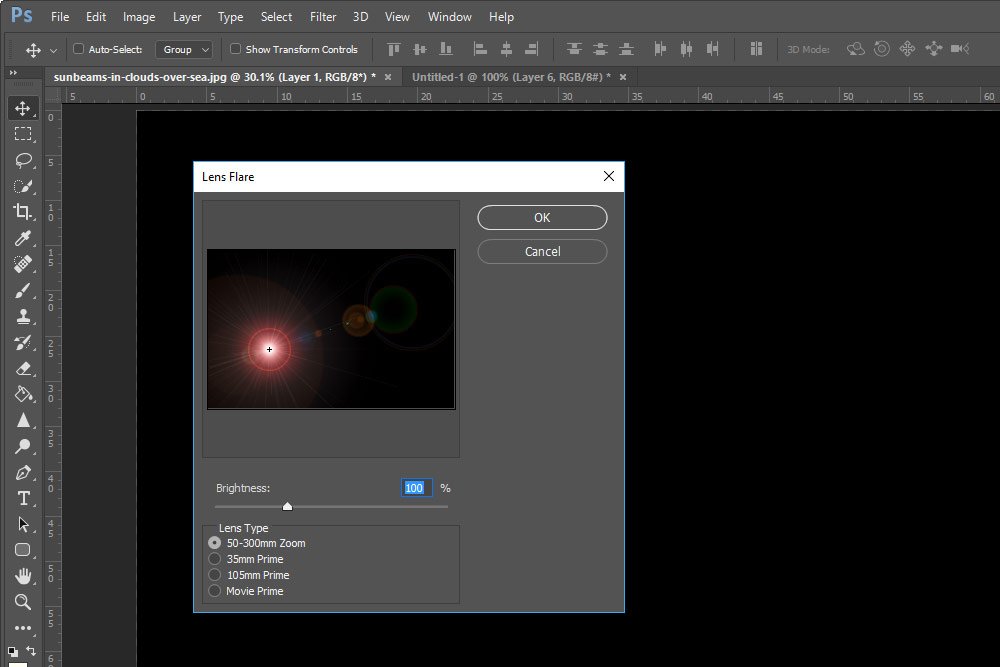
This will open the Lens Flare dialog box.
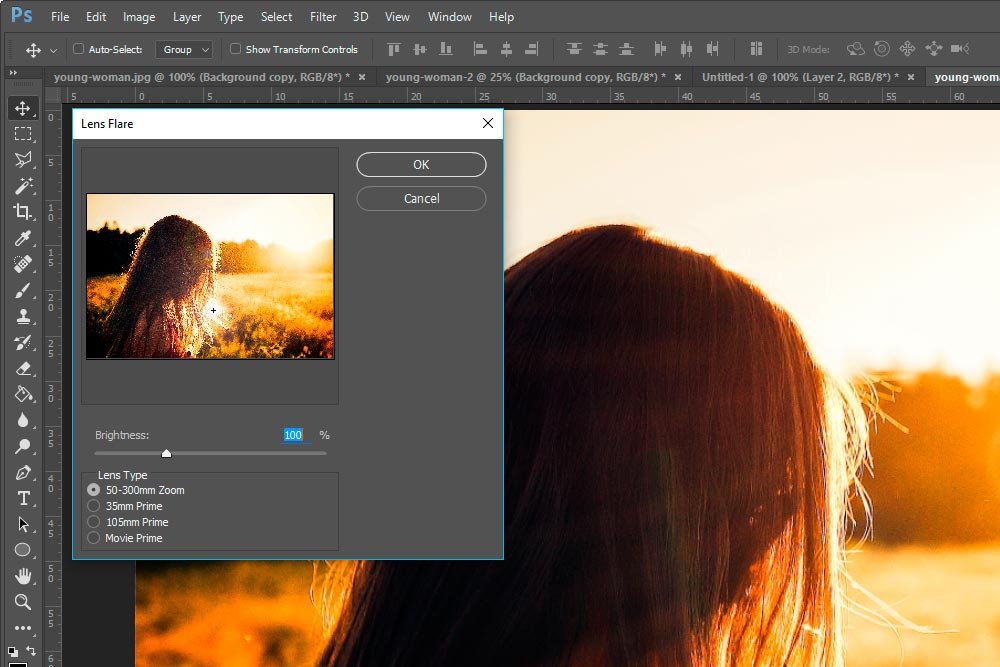
If you take a look inside this dialog box, you’ll find that it’s not very complex. There is a Brightness slider that affects the actual light source brightness and size. There are also a few different choices for Lens Type that the flare originates from. I suggest you experiment with these two areas to see what looks best with your particular photo. I couldn’t possibly go through everything here – I’d be writing all day.
If you look closely at the small sample image that’s contained inside the Lens Flare dialog box, you’ll see a small cross-hairs that’s centered in the light source for the flare. If you click on that cross-hairs, you’ll have the ability to drag the light source around so it best fits your specific photo. Many folks choose to use the light source as the sun itself, but with the image I’m using, I decided to hide the source behind the model’s hair because that area was already bright. I just brightened it up some more and situated it so the flares were very prevalent.
When I’m happy with the look of the flare, I’ll click OK so it’s applied to the layer copy.
Editing the Look
Let’s say that I really like the look of the light halos, but am not very fond of the light source in the girl’s hair. The good news is, I’m not stuck with what I just did with the filter. Since I initially made a copy of the original layer and applied the filter to the copy, I can easily use a Layer Mask to erase or lighten some of the effect.To create a Layer Mask, I’ll click on the layer I want to apply the mask to and then head down to the bottom of the Layers panel. Once there, I’ll just click the Add Layer Mask icon, which will apply a mask to the layer in question.
What’s a layer mask? Glad you asked. If you’re not familiar with these powerful Photoshop features, please take a look at this post:
What are Layer Masks in Adobe Photoshop?
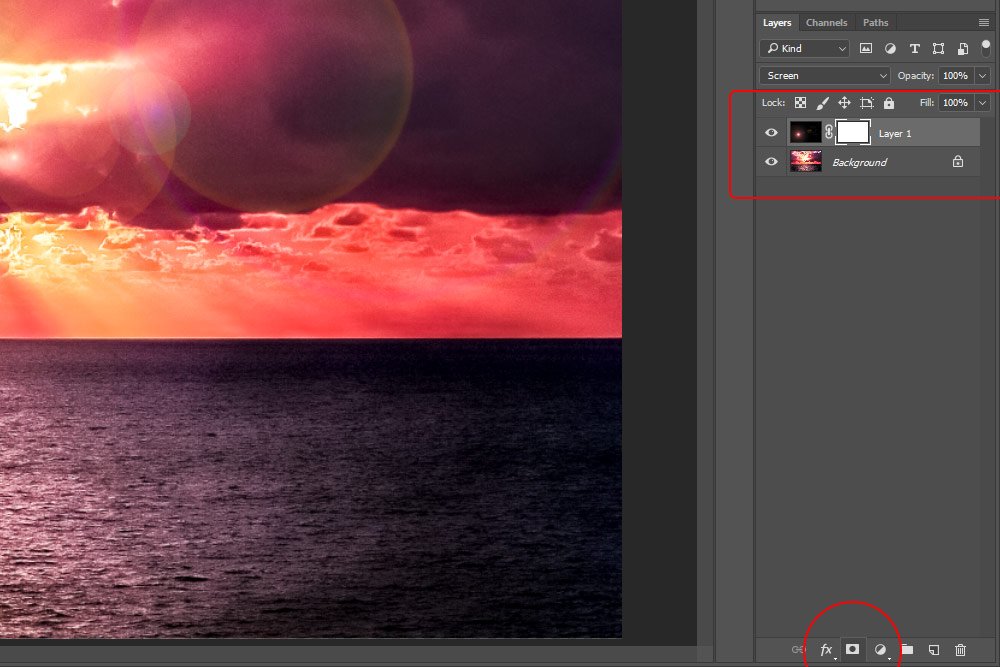
Once I complete this step, my Layers panel will look like this:
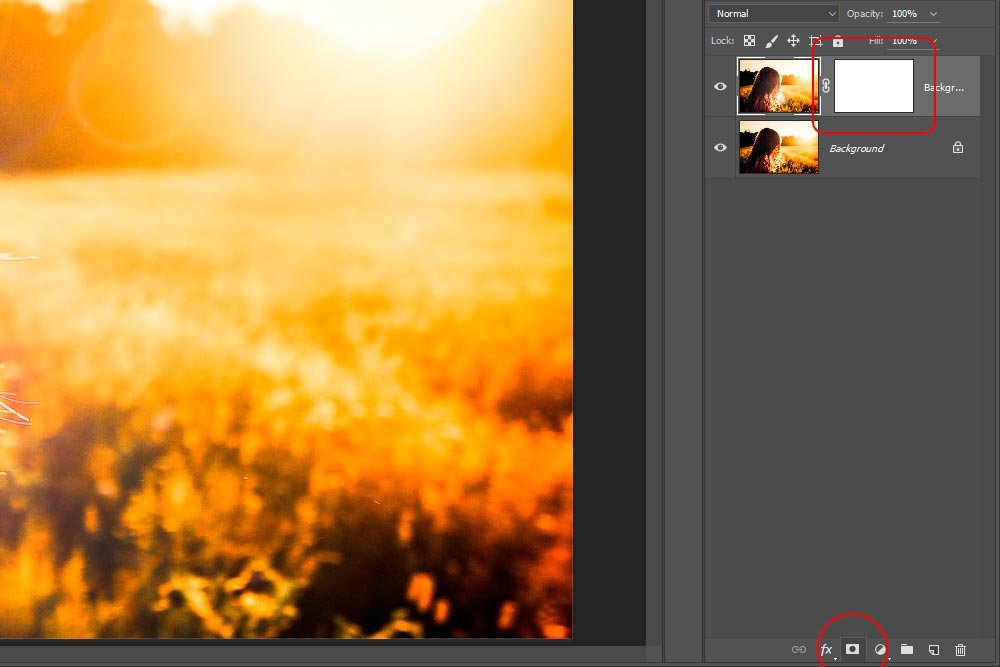
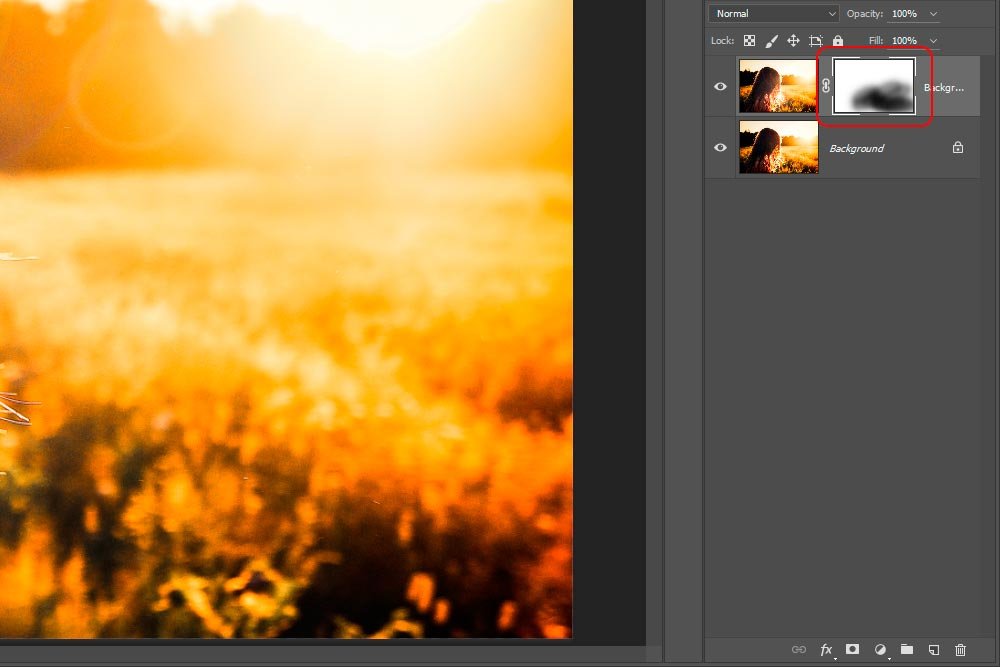
If you’ll notice the screenshot above, you’ll see that the mask is white. This means that the entire layer is still visible. To hide or reduce parts of the layer, I’ll need to use my Brush Tool with the Color Picker set to black. In the options menu at the top of the workspace, I’ll change the brush Opacity to 50%, so my changes aren’t so drastic.
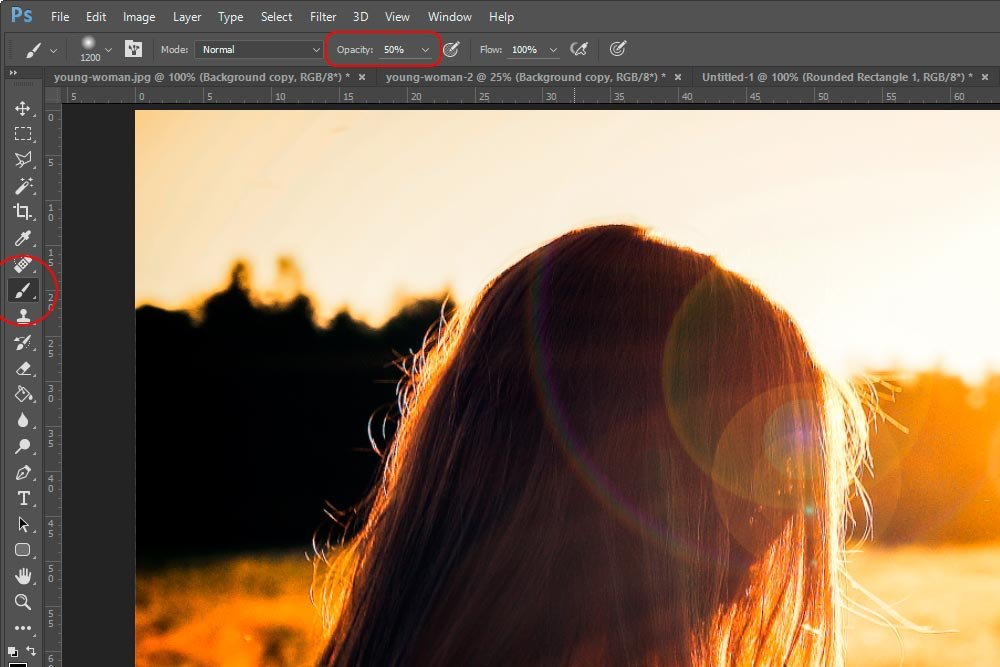
At this point, I can size my brush accordingly and begin painting away some of the light source effect. As I do this, I’ll see parts of the mask over in the Layers panel begin to turn gray. Those are the areas I partially erased. Take a look at what I’ve done.
The Final Image
When my masking edits are finished, I can save the file. Here’s what I have:
Notice how the light source is no longer visible in the model’s hair.
When applying these types of filters, you have a lot of flexibility. You just need to remember to use some creativity when working inside of Photoshop. It’s my guess that a beginner would open an image and quickly apply the Lens Flare filter without thinking about the effects. A more advanced user would consider the future and create a duplicate layer to work with to avoid issues down the road. That same more advanced user might also edit the duplicate layer after applying the filter for a more customized look.

