Cameron
Member
- Joined
- May 10, 2021
- Messages
- 108
- Reaction Score
- 3
- Points
- 23
- #1
There are some areas of working with video that seem super challenging, but that are actually quite simple to grasp. If you’ve ever heard of an “ah ha” moment, working with video editing is full of them. The topic I’d like to share with you below describes one of those moments well. Something that seems really difficult is actually easier than you’d ever think.
In today’s post, I’m going to discuss how to hide a portion of a video clip. In the file I use inside of Adobe Photoshop, there will be four clips. They are random sizes and lengths. That’s not what matters here. In any case, I’ve reduced the physical sizes of the larger clips so each one is about equal.
If you’ve ever seen a video online or on the news or something like that, you know that split screens are very common. I’m sure you’ve even seen video where there were many clips in small sections of the screen, each doing their own thing. Personally, I’ve always wondered how “they” do that. How did the video editor get all those movies into those little boxes. Well, today I’ll share a concept behind the idea. While this concept isn’t used universally, it is used quite a bit. To complete this small project, I’ll be using masks. Nothing more, nothing less. Just layer masks.
Before I go any further, I thought I’d lead you to some resources on this site that deal with layer masks. If you aren’t familiar with them and would like to learn about them, I encourage you to give them a once over.
What are Layer Masks in Adobe Photoshop?
How to Adjust Layer Masks by Color Range in Adobe Photoshop
Selecting, Masking & Moving Image Objects in Adobe Photoshop
Even though each of these posts has to do with masks and static photograph files, the idea really is the same. Whether it’s a mask in a video file or a mask in a photo file, they behave dentically.
What are Smart Objects in Adobe Photoshop?
Using Smart Objects For Video in Adobe Photoshop
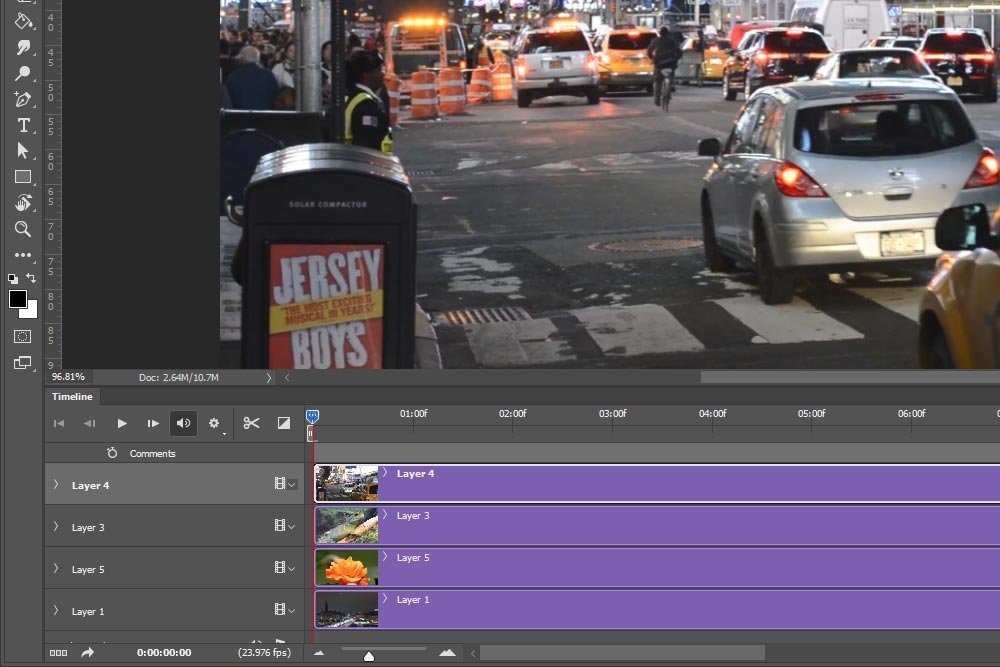
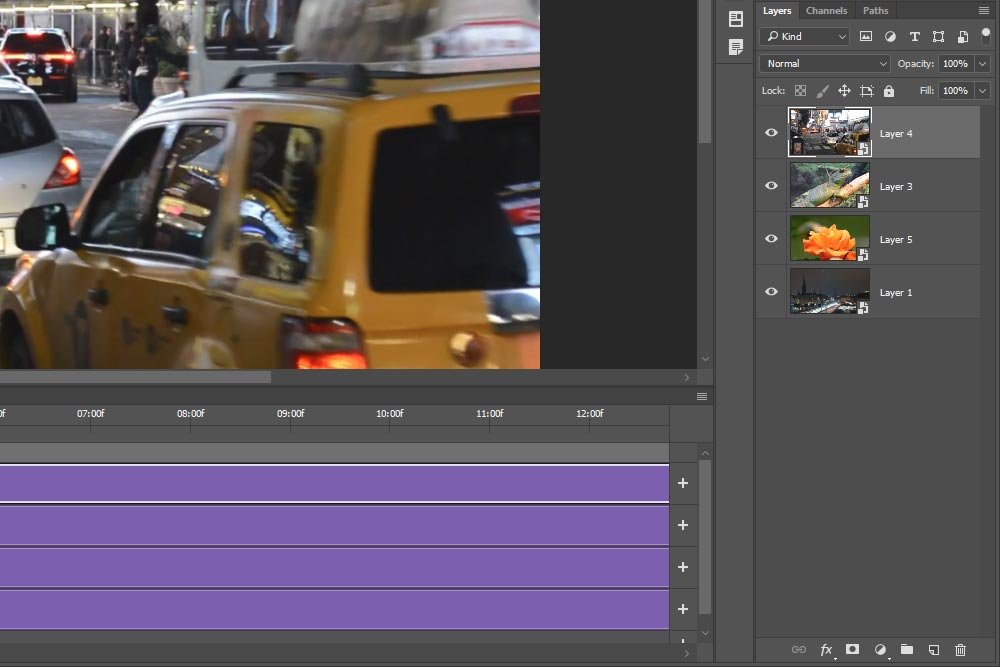
I’ve got four layers and each one is a Smart Object. As you can see, the top layer fills the entire visible video area. My goal with this project is to have four video clips playing simultaneously, side by side. So, to do that, I’ll need four sections of video – each one taking up 25% of the screen.
First, I’ll select the Rectangular Marquee Tool from the left vertical toolbar.
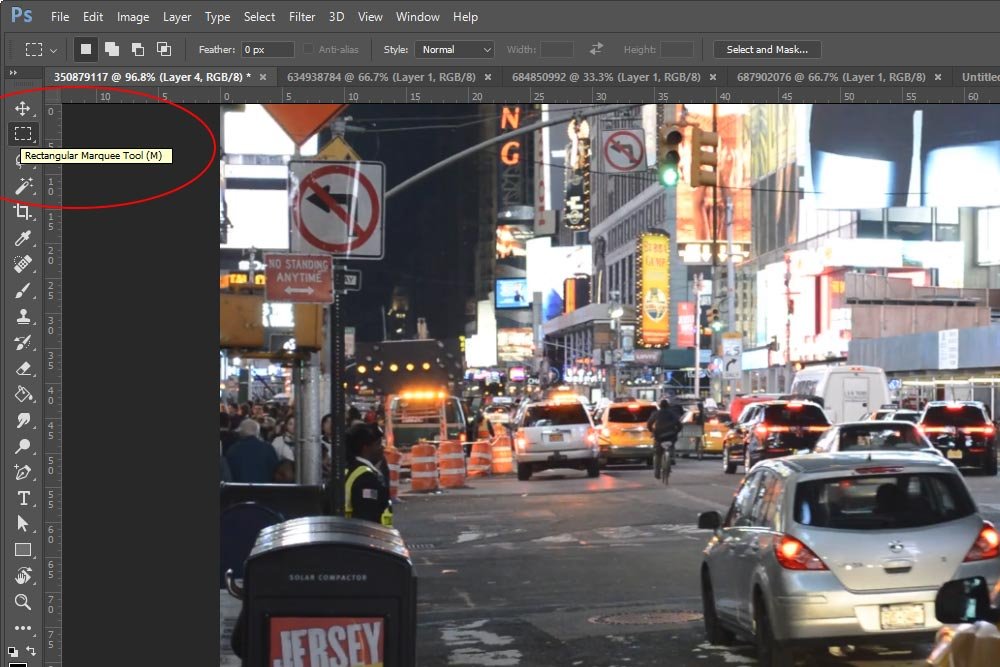
Once that’s active and after making sure the top layer in the Layers panel is selected, I’ll draw a rectangle over the last 25% of the visible video area.
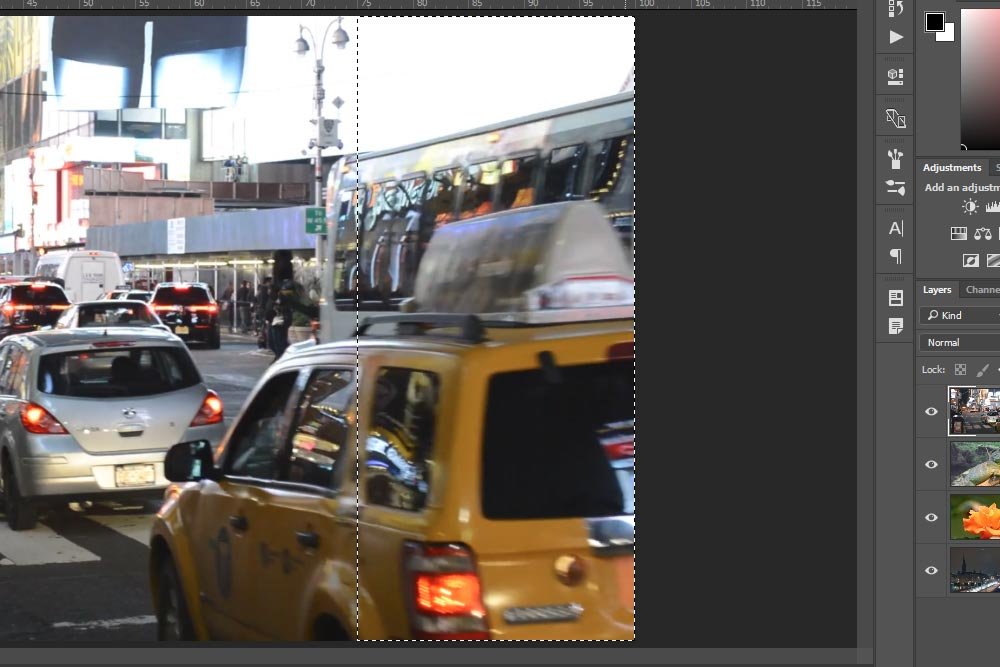
After that, I’ll head down to the bottom of the Layers panel and click the Layer Mask icon.
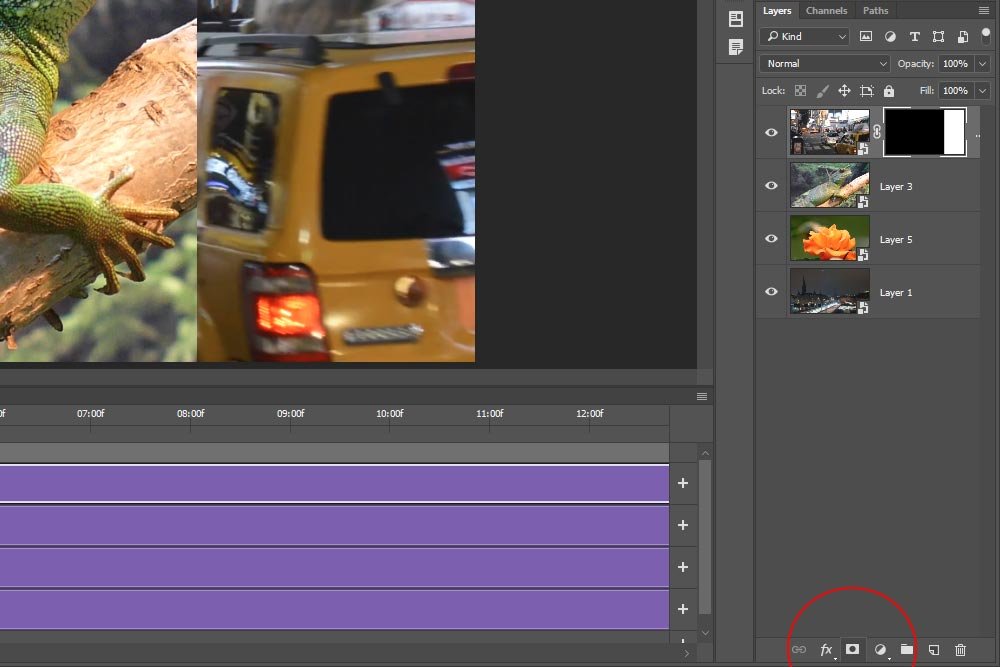
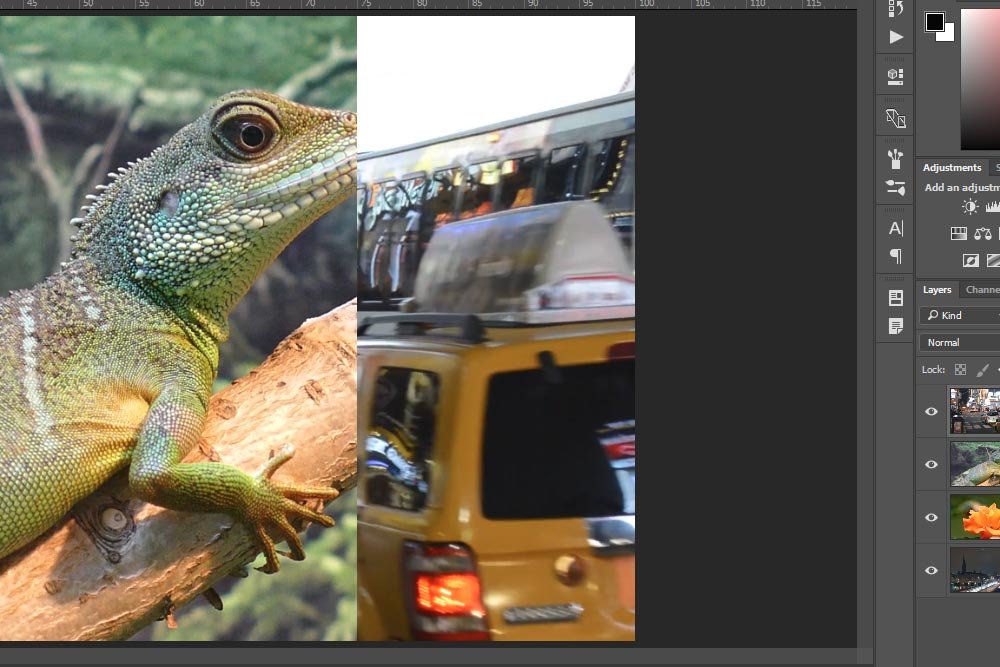
When using a selection tool to mask, anything that sits outside of the selection disappears. So in this case, the area I outlined stays visible, while the rest of the video clip gets hidden.
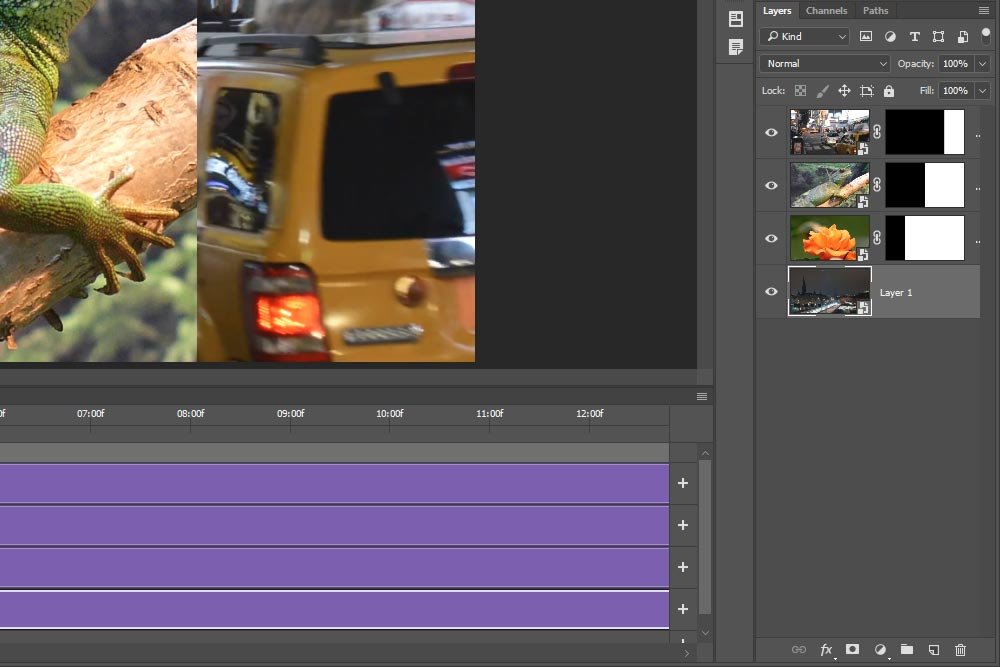
Now, if I continue masking the next two layers from the top, by hiding 50% and then 75%, I’ll get the result I’m after. Here’s what the layers in the Layers panel look like.
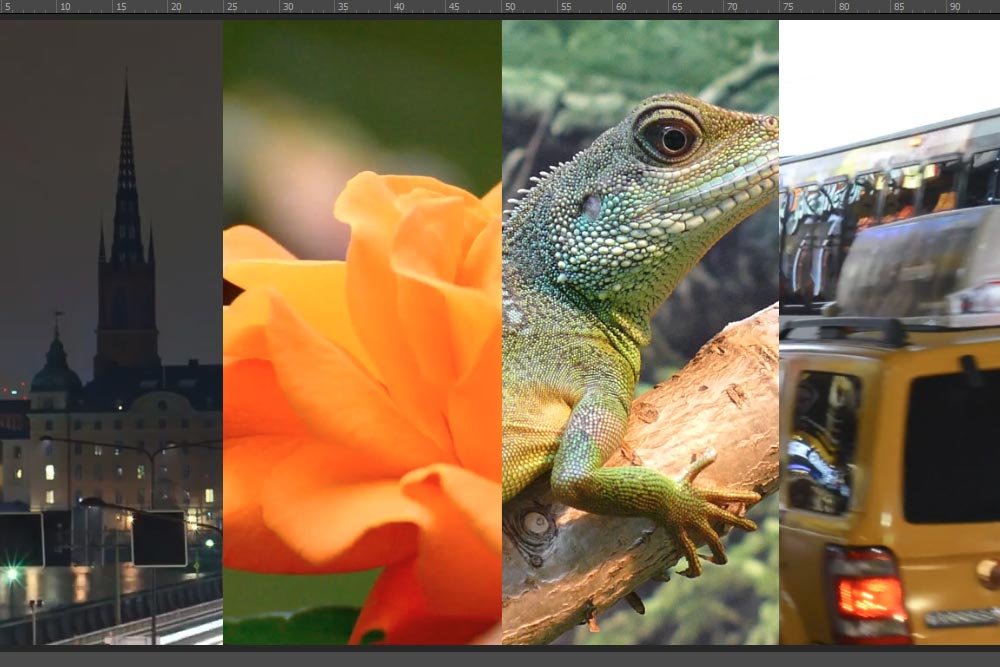
And this is what the visible video area looks like.
When doing things like this, I always show the rulers (View > Rulers) to make my life easier. This way, I get the most accurate result.
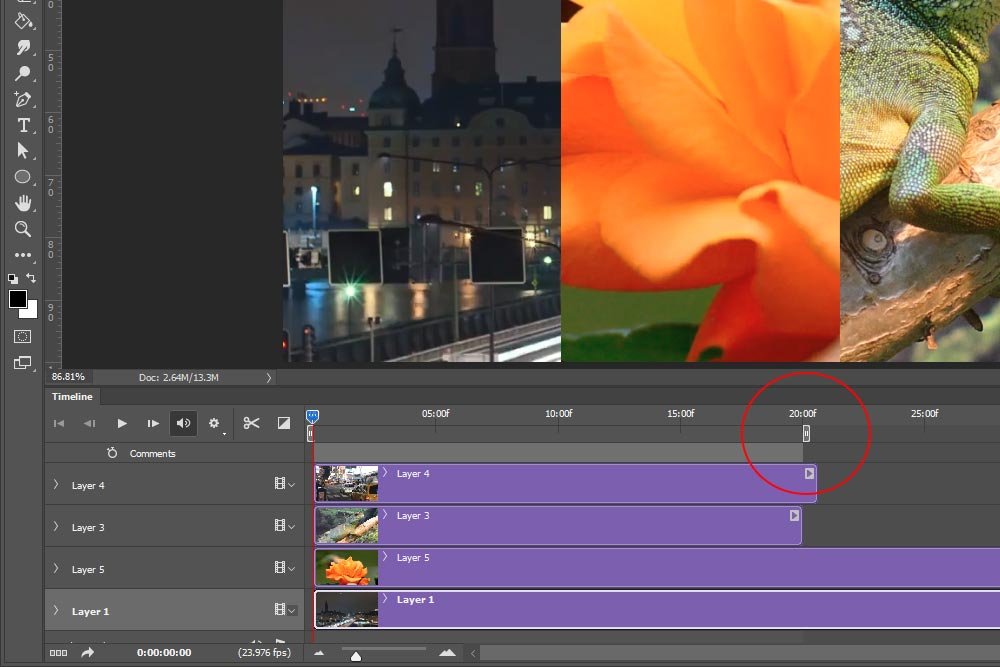
Now, if I render the video, which I’ll do in just a moment, there won’t be any missing clips because of the different lengths of each one.
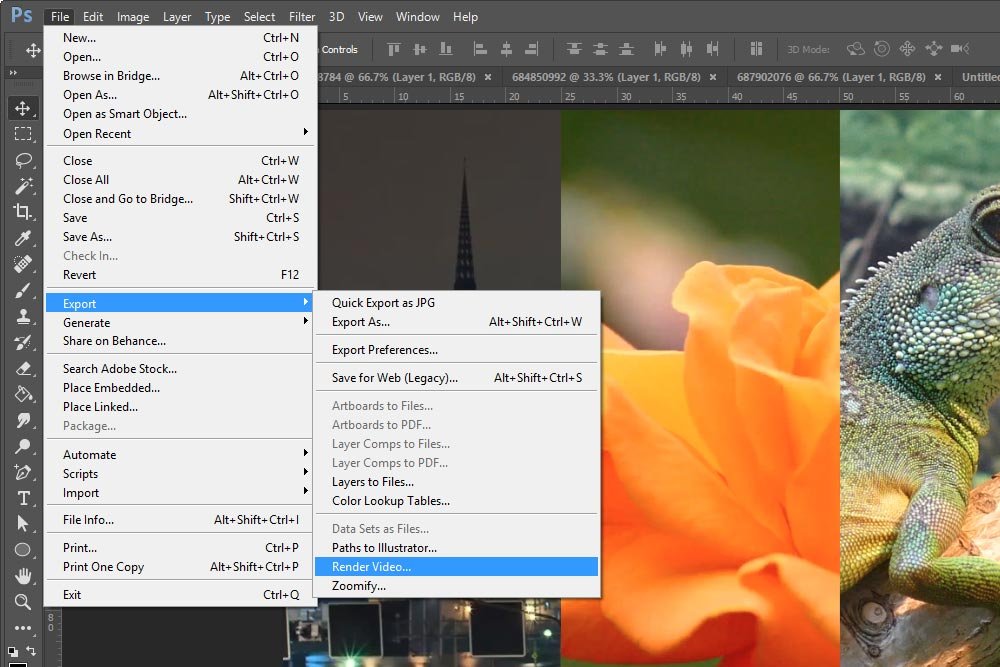
To learn all about rendering and exporting video from Photoshop, please check out this post:
How to Export Video From Adobe Photoshop
I’ll go through the motions and export the video as an MP4 file and upload it to Youtube so you can see the results of my masking.
That looks great and is exactly what I had intended to happen. Perfect.
See? That wasn’t so bad. It’s really simple to, sort of, crop out sections of video in Adobe Photoshop. As long as you understand the concept, you can really get creative with what you can accomplish. If you have any questions or concerns regarding this post, please let me know in the comment section below. Thanks for reading!
In today’s post, I’m going to discuss how to hide a portion of a video clip. In the file I use inside of Adobe Photoshop, there will be four clips. They are random sizes and lengths. That’s not what matters here. In any case, I’ve reduced the physical sizes of the larger clips so each one is about equal.
If you’ve ever seen a video online or on the news or something like that, you know that split screens are very common. I’m sure you’ve even seen video where there were many clips in small sections of the screen, each doing their own thing. Personally, I’ve always wondered how “they” do that. How did the video editor get all those movies into those little boxes. Well, today I’ll share a concept behind the idea. While this concept isn’t used universally, it is used quite a bit. To complete this small project, I’ll be using masks. Nothing more, nothing less. Just layer masks.
Before I go any further, I thought I’d lead you to some resources on this site that deal with layer masks. If you aren’t familiar with them and would like to learn about them, I encourage you to give them a once over.
What are Layer Masks in Adobe Photoshop?
How to Adjust Layer Masks by Color Range in Adobe Photoshop
Selecting, Masking & Moving Image Objects in Adobe Photoshop
Even though each of these posts has to do with masks and static photograph files, the idea really is the same. Whether it’s a mask in a video file or a mask in a photo file, they behave dentically.
The File Setup
As I mentioned above, everything in this project is very straightforward. I have four video clips – one in each layer. I’ve already gone ahead and converted each clip to a Smart Object because in order to resize them, Photoshop demanded that they be converted. Since I only needed to resize three clips, I just went ahead and converted all of them for the sake of consistency. In case you aren’t aware, when a video layer is converted to a Smart Object in Photoshop, the layer in the timeline turns from blue to purple. That offers some easy identification.What are Smart Objects in Adobe Photoshop?
Using Smart Objects For Video in Adobe Photoshop

Looking at the Layers Panel
If we take a look at the Layers panel, we can quickly see what’s going on.
I’ve got four layers and each one is a Smart Object. As you can see, the top layer fills the entire visible video area. My goal with this project is to have four video clips playing simultaneously, side by side. So, to do that, I’ll need four sections of video – each one taking up 25% of the screen.
Applying a Layer Mask
If you know how to apply a layer mask to a layer, this should be a breeze. I’ll go ahead and do that now.First, I’ll select the Rectangular Marquee Tool from the left vertical toolbar.

Once that’s active and after making sure the top layer in the Layers panel is selected, I’ll draw a rectangle over the last 25% of the visible video area.

After that, I’ll head down to the bottom of the Layers panel and click the Layer Mask icon.

When using a selection tool to mask, anything that sits outside of the selection disappears. So in this case, the area I outlined stays visible, while the rest of the video clip gets hidden.

Now, if I continue masking the next two layers from the top, by hiding 50% and then 75%, I’ll get the result I’m after. Here’s what the layers in the Layers panel look like.

And this is what the visible video area looks like.

When doing things like this, I always show the rulers (View > Rulers) to make my life easier. This way, I get the most accurate result.
Shortening the Long Clips
Just to finish up this example file, I’ll head down to the Timeline panel and pull the endpoint of the video to the left, so it sits right at the end of the shortest clip.
Now, if I render the video, which I’ll do in just a moment, there won’t be any missing clips because of the different lengths of each one.
Rendering the Video
To render the video, I’ll head up to the File > Export > Render Video menu item and click.
To learn all about rendering and exporting video from Photoshop, please check out this post:
How to Export Video From Adobe Photoshop
I’ll go through the motions and export the video as an MP4 file and upload it to Youtube so you can see the results of my masking.
That looks great and is exactly what I had intended to happen. Perfect.
See? That wasn’t so bad. It’s really simple to, sort of, crop out sections of video in Adobe Photoshop. As long as you understand the concept, you can really get creative with what you can accomplish. If you have any questions or concerns regarding this post, please let me know in the comment section below. Thanks for reading!
