Question: I’ve been working with WordPress for over a decade and I’m probably the last person on earth to still use the classic editor. I never thought I’d like the new block editor (Gutenberg), but after playing around with it for a post or two, I’ve fallen in love with it. It’s extremely elegant and it offers me a lot more flexibility than the classic editor ever has.
I do have one question though – how do I make columns in a post or a page? I looked around, but I can’t seem to find out how to do it. Thanks.
Answer: Making columns in WordPress is very easy to do. I’ll give you the steps below. For this example, I’ll create a new page and work from there.
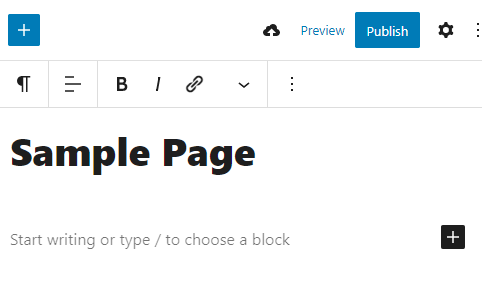
To start off, I’ve written a sample title. You can see that below. I then clicked on the black + symbol to the right of the text area. It turns blue when I roll my mouse over it.
This is what appears when I click the + button.
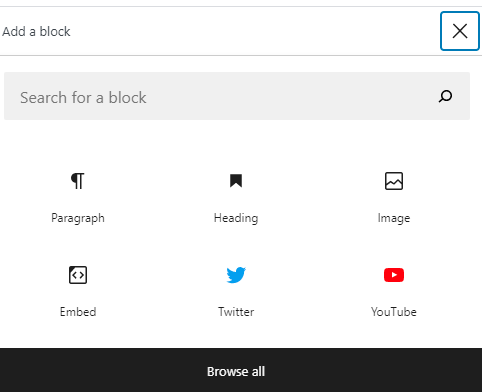
Since the Columns option isn’t available, I’ll need to click the Browse All button.
The next page shows a whole bunch of options. They’re categorized under headings. They are Text, Media, Design, Widgets, Embeds, and a few others from Yoast (because I’ve got his SEO plugin installed on my blog). The Columns option is under the Design heading. I’ll roll over that and click on it.

When I click on the Columns option, this is what I’ll see.
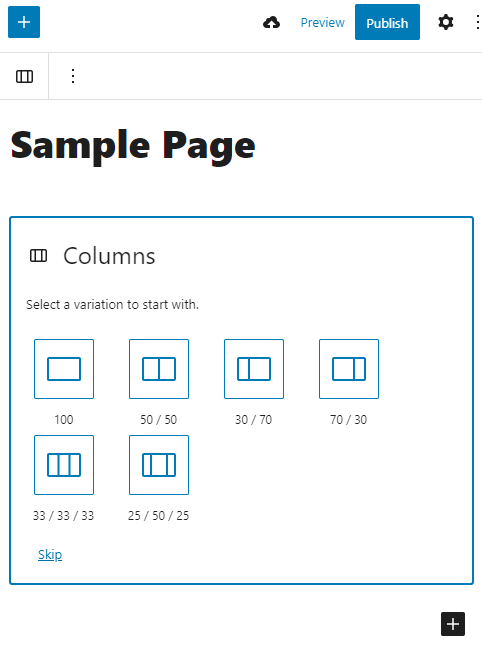
I’ll randomly go ahead and click on the 50/50 option. When I do that, I’ll be presented with two blocks in which to add my content.

The next step is to click into the block I want to work in. This is just like when I clicked the + symbol above. I’m presented with options for each column.
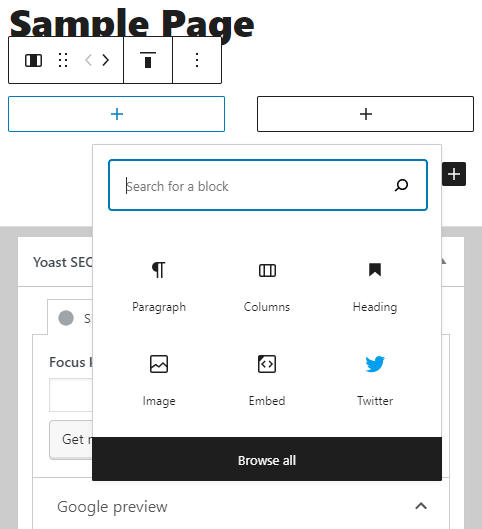
For this example, I’ll add some simple text.
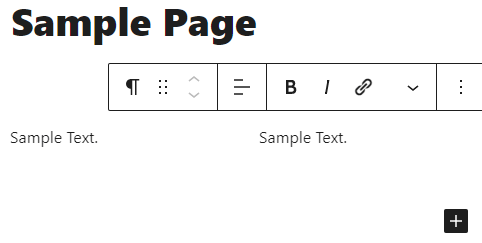
And that’s pretty much it. It’s a very simple process. After this, I would continue on adding more blocks and content.
Leave a Reply